| |
| No, the not-so Hobsonian lattice work won't be part of the look. I wonder if those window shade Bruce made are still in use..? |
 |
| The shaping on the left front leg is sort of what will happen, only less severely than this. |
 |
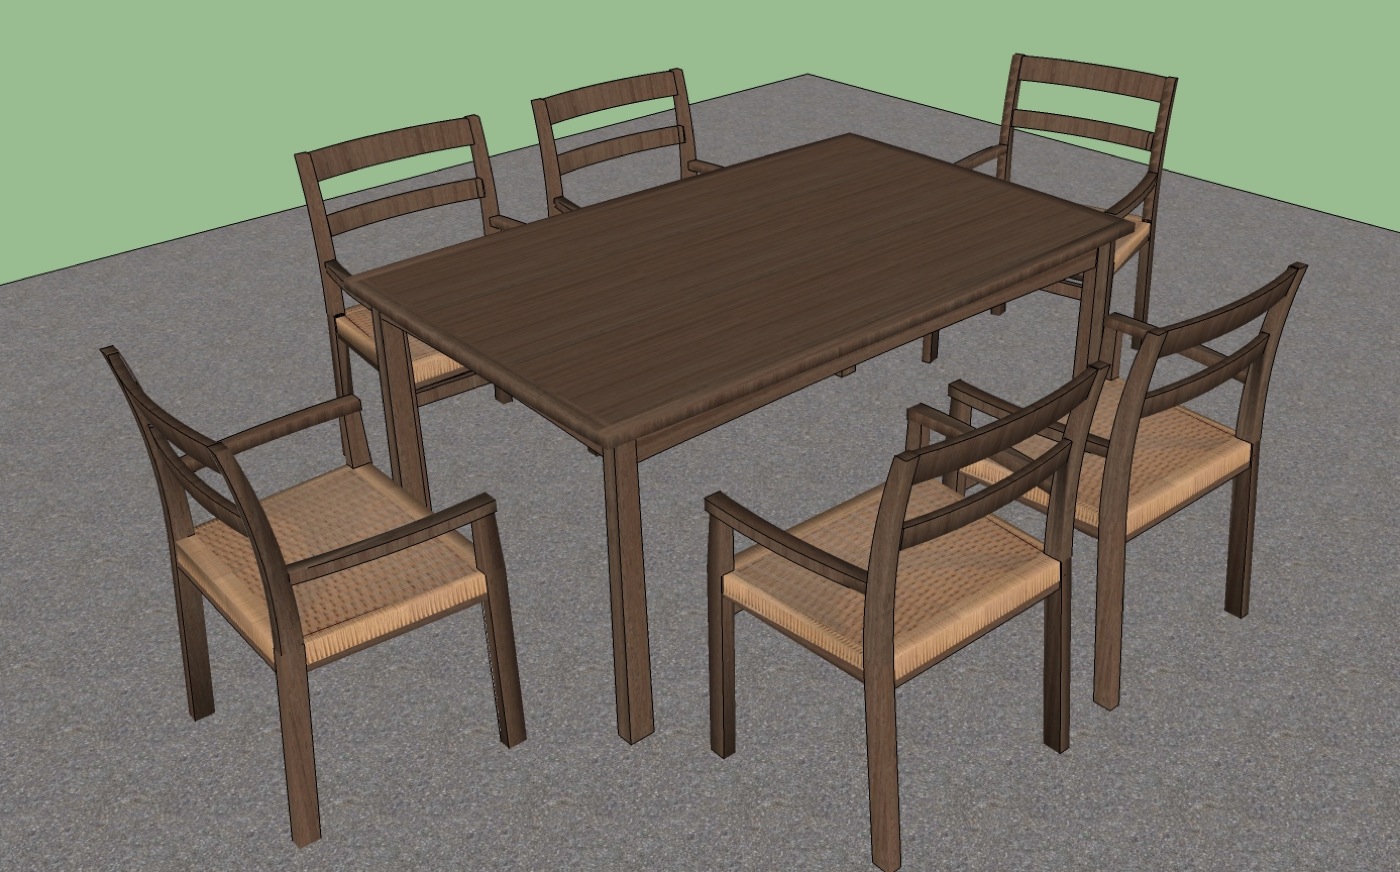
| All six chairs are going to be arm chairs. It's a departure from traditional dining sets but that's the beauty of custom furniture. You can ask for whatever you want and all of your guest can sit in as much comfort as the hosts! |
 |
| The seat rails are curved both top and bottom. This weave of the seat will therefore not be flat, but slightly bowled which I think will look unique. |
 |
| This is a negative template of the arms. It was handy because it gave me a look at the graphics while the outside rectangle showed me what I was aiming for as far as the initial rough stock size. Pieces such as this stay square until the joinery is done, and are then cut to shape. |
 |
| I got my Walnut from a place in town call Upper Canada Forest Products. They were really helpful and actually brought this in for me from their Vancouver Warehouse. I requested rift and they sell it as rift/quartered so I knew I was taking my chances on getting enough rift to do the job. |
 |
| As you can see, there was a fair bit of quartered in with it but I managed to get all of the pieces requiring true rift out of what I had. It was really interesting to look at a pile of wood, knowing that you need to find 12 front legs, 12 arms, 12 back rails, 6 stretchers, etc, plus extra parts for setups. In this case starting with lots of clear wood that was relatively straight was a real blessing. |
 |
| My "scrub-plane". I never liked scrubbing and with so much needing to be done, this kicked ass. Time saved here can be better spent later on something that will make a difference to the project. |
 |
| Photo 1 :My piece is nice rift, almost perfectly 45 degrees but as you can see, the grain is not running parallel to the edges of the board. |
 |
| Photo 2: You can also see that on the edge, it is slash grain, meaning it cuts diagonally across the surface. Now, I could give up on this and go looking somewhere else as upon first glance you might think that it must be slash grain all the way through. The truth is that cut at this angle, it is. If you sawed this piece into 2x2 and said to hell with it, you'd have ugly slash grain all down the front of your chair legs. So what to do? |
 |
| Photo 3: It's really a matter of taking care of one side. I started by drawing a line parallel to the grain ignoring the existing edges. Then rip your piece along that line. A quick pass over the jointer to flatten that new edge and I was ready to set my band-saw fence to 2" and rip off my front legs. Ok fine, but what about that slash grain on the side of the board? |
 |
| Photo 4: What? It's gone?! These are the 2x2s rotated so that you see what would be the front of the legs and what was the edge of the board before. Essentially, because the end-grain in photo 1 was angled diagonally, taking care of the slash grain on one face, winds up giving you nice straight grain on all four sides of your piece. Also of note, if you take the two center pieces from photo 3 and open them like a book, you get a mirror image (book-match) with identical grain on the front of both. |
He said, "What's a bigger waste? Getting two beautiful legs out of that piece and wasting half, or getting four ugly legs out of it and wasting the whole thing?"
I think that was when I stopped worrying about the "waste". Besides, I've made a nice end-grain cutting board out of all those types of scraps, and now our Chirstmas shopping list is shorter.
 | |
| This is what parts, and extra parts for six chairs looks like. The back legs wound up being cut from flat-sawn stock. I debated doing bent tapered laminations, but in the end, after a few very valuable consults with my IP alums it was decided that this was the way to go, both graphically and it terms of time. I didn't like the idea of seeing the glue lines in the end-grain at the top of the legs and flat-sawn cut right gives you nice graphics up the four sides. |