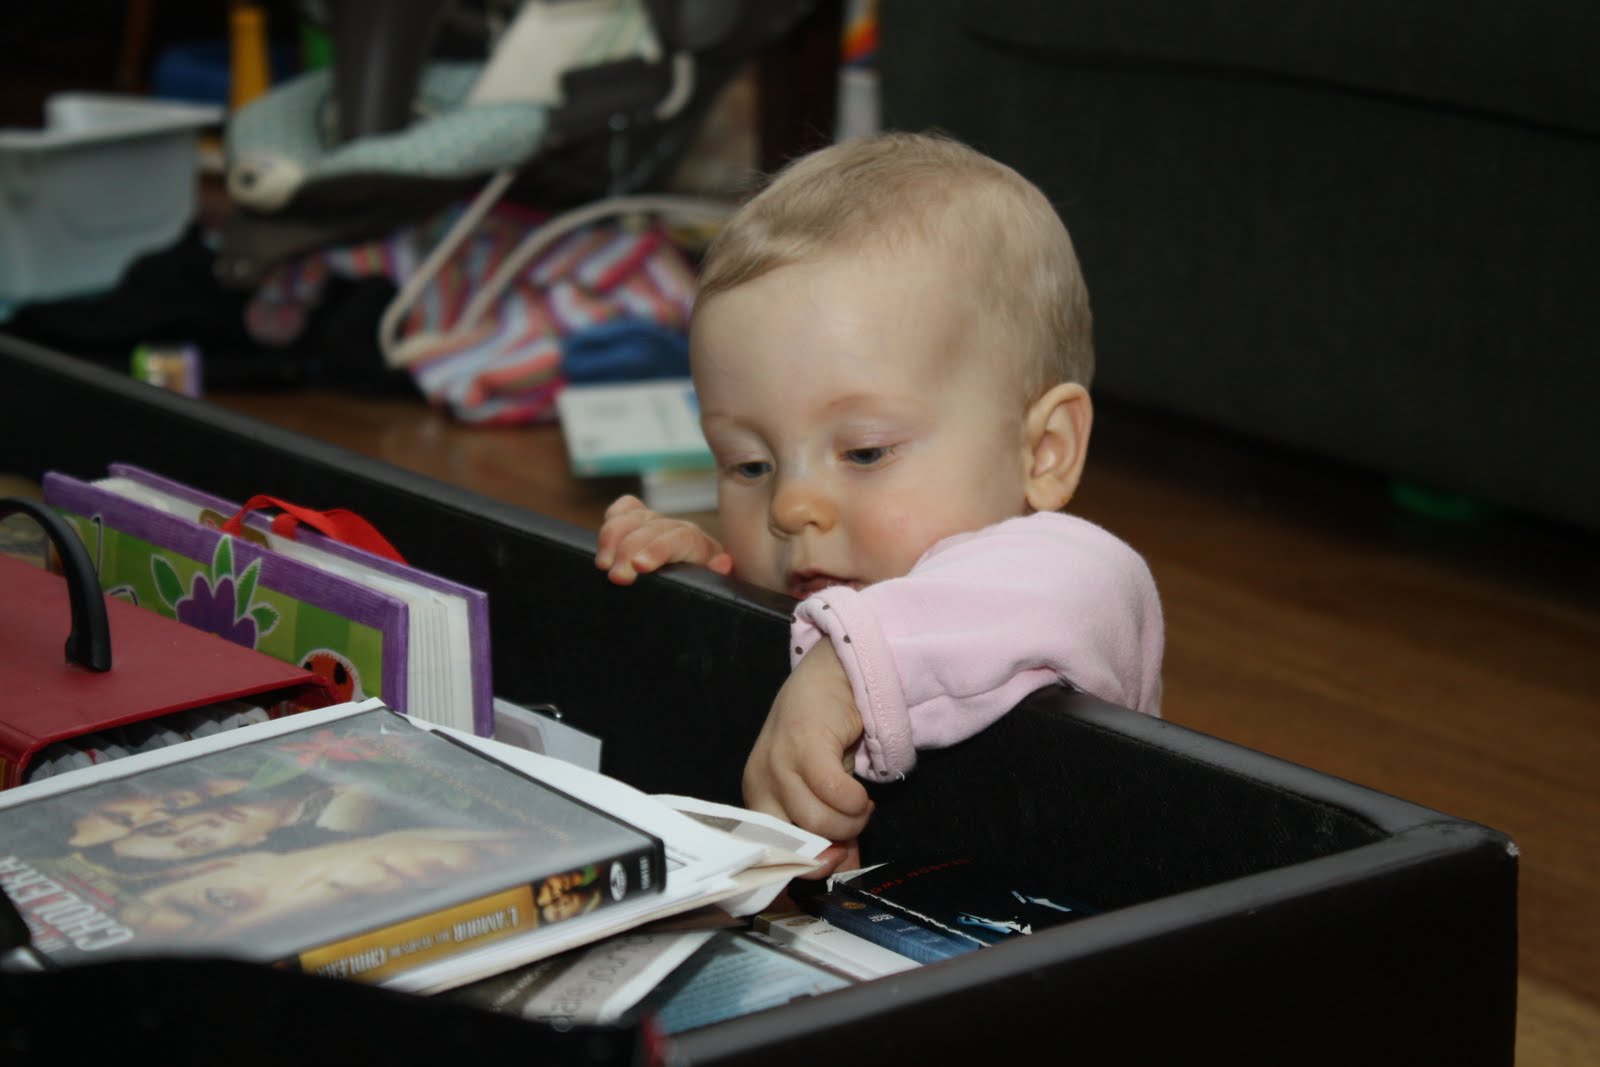
When we arrived in Roberts Creek Rya was only 6 weeks old and could hardly even hold her head up. It's amazing how quickly time has gone here and perhaps nothing is a better reminder that it has been almost nine months, than the fact that our little baby girl now looks like this!
Now I know I am biased, but somebody as cute and as sweet as this is going to need a nice place to sit and have tea parties with her friends. I envisioned a very simple little chair and table set but Robert felt I could challenge myself a little more as the joinery in what I was proposing was very basic. As such, my current project is a nice set of miniature Vidar's chairs and a little table.
Vidar Malmsten was JK's friend and he designed a chair that has been built by numerous people at College of the Redwoods over the years and most recently, Robert built one out of Wenge as seen below. Mine will be without arms and will be made of white oak.
The glorious thing about doing Vidar's chairs is that the full scale working drawings already exist and therefore I was able to warp-zone my way past the designing, mocking-up and drawing stages, right to the building. I feel like I've still learned how to go about those important steps by watching other students do it, but with limited time left I'm happy to be going full throttle with the real deal. Below you see the drawing of the back of the chair. Mine will be to 65% of the actual size.
Below you see my white oak cut into very small but very carefully selected pieces. Vidar's chair is a great exercise in both complex joinery, but also grain graphics. Every piece has to be a certain cut in order to have the grain follow the curves once the shaping begins.
The back legs are the first to take shape in order to begin laying out the joinery and cutting the mortises.
White sticky labels makes it easier to make crisp, visible lines and avoid confusion when you get back to the mortiser to start cutting.
I made a cradle to hold my pieces while I mortised in the side of the legs. The nice thing about the two dowels is that they allowed me to maneuver the piece side to side until my marks were perfectly parallel to the top of the x-y table.
The back of the seat is fit between the back legs with twin tenons.
Next the front legs are joined with the seat front and the front rail between them. The rail is connected with a single live tenon while the seat front is once again joined with twin floating tenons. I discovered doing this part that while live tenons take longer to cut, they are a joy to fit. The floaters on the other hand are quick to mortise but you have twice as much tenon to fit and at this tiny scale the chicklety little tenons are hard to hold on to.
This is just some tenon stock. Perhaps I should have explained earlier but a live tenon is one that is cut on the end of a piece like the rail and is then inserted into a mortise in the other piece. A floating or loose tenon involves two mortises (one in each piece) and a separate tenon that joins them together, more like a dowel. Twin tenons are just two, one above the other.


I can just see Rya and her friend sipping their milk and nibbling their cookies. Are you making the seats as in the Vidar style? What is itmade from?
ReplyDeleteDad
No matter how many times ive seen this chair being done, it's still a beautiful chair.
ReplyDeleteim very interested to see how you tackle the back splat to rail joinery! looks like a lot of shaping!
As a father of 3 little kids I know the pride you feel. Beautiful chair. How will the back legs be joined to the top of the slat? Dowels? Can't wait to see the table. Sounds like a marvelous environment.
ReplyDeleteDad - yes, my seat will likely be the same as Robert's although I'm a little weary of not being able to scale down the cord or even alter the patter so it may look too big for the little version. It is called danish cord and it's actually made from paper.
ReplyDeleteNick - that will certainly be the most challenging part for sure.
Anon - The crest rail on top is doweled into the tops of the legs. It is a lot of fun to have a chance to work in a place like our school.