This is a short foreign language film I made about weaving. Let me clarify that this is not a movie, but rather a film. Interestingly, I began at night (hence the beer) and finished the next morning (with a quick coffee.)
The chairs are in their final stages now while I finalize a design for the table to go with them. We only have 12 working days left! AH!
Tuesday, April 27, 2010
Saturday, April 24, 2010
Sunday, April 18, 2010
Year End (Already?!?!) Info
I literally just stole this from the resident craftsman blog but thought it was an easy way to pass along to all those who are interested, even if just in a "that's nice but I live in Calgary kind of way."
Those of you who have paid attention this year should recognize at least one piece in the cool graphic put together by Michael O (as opposed to Michael "Effin" A.). Can you spot it? Wow this is my first interactive post...

Those of you who have paid attention this year should recognize at least one piece in the cool graphic put together by Michael O (as opposed to Michael "Effin" A.). Can you spot it? Wow this is my first interactive post...

Open House
Inside Passage School of Fine Woodworking
Inside Passage School of Fine Woodworking
Saturday May 8th 1pm-5pm
1055 Roberts Creek Rd
Sunshine Coast, BC
Furniture Exhibition
Furniture Exhibition
Kozai Designs
Reception: Saturday May 15th 1pm-5pm
Exhibition closes May 29th
1515 West 6th Avenue
Vancouver, BC
Wednesday, April 14, 2010
Wow! Rift Sawn Crest Rail Wonderment!

This little member, only 13" long in my miniature scale, began as a 2 1/4" by 2 1/4"by 14" piece of perfectly rift sawn white oak. Perfectly rift sawn means that if you look at the end of the piece, the grain will go diagonally, corner to corner at 45 degrees. Tecnically anywhere from 30-60 is rift but for this I needed 45.
The key is that the end grain must be rising from front to back. You'll see why shortly.

Here's the result.


If you held on this far, thank you and I hope that all made some sense.

Monday, April 12, 2010
Chairs for a Tea Party!
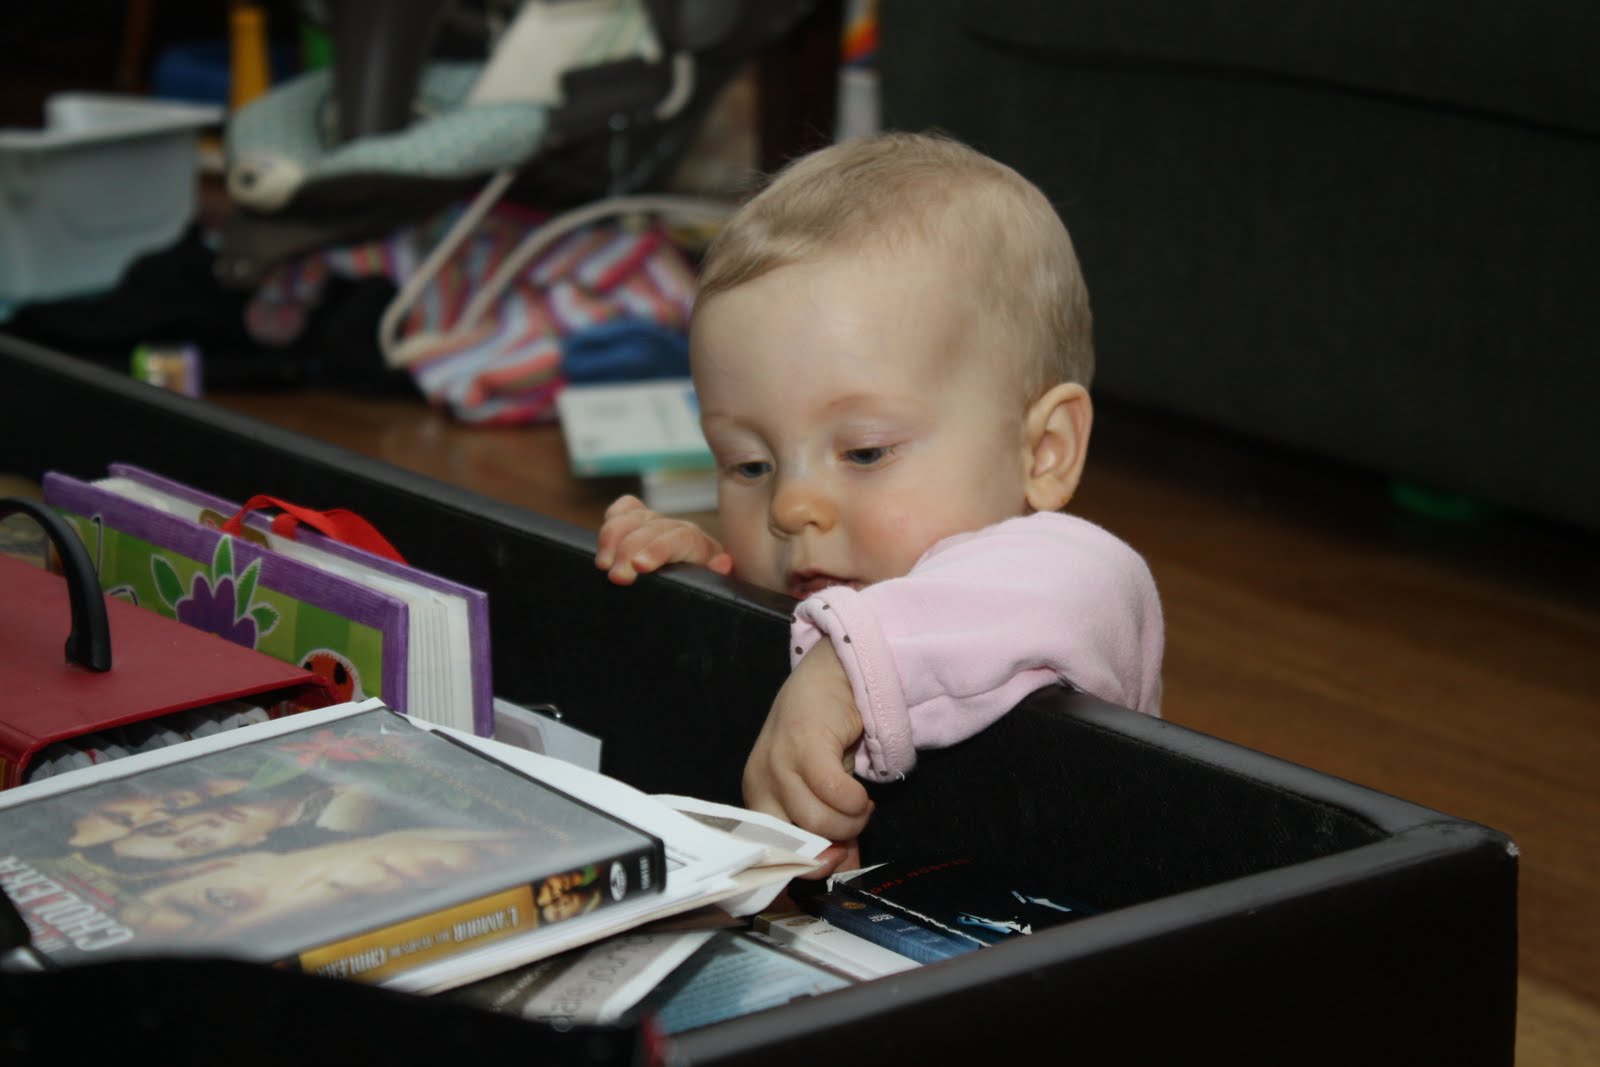
When we arrived in Roberts Creek Rya was only 6 weeks old and could hardly even hold her head up. It's amazing how quickly time has gone here and perhaps nothing is a better reminder that it has been almost nine months, than the fact that our little baby girl now looks like this!

 Now I know I am biased, but somebody as cute and as sweet as this is going to need a nice place to sit and have tea parties with her friends. I envisioned a very simple little chair and table set but Robert felt I could challenge myself a little more as the joinery in what I was proposing was very basic. As such, my current project is a nice set of miniature Vidar's chairs and a little table.
Vidar Malmsten was JK's friend and he designed a chair that has been built by numerous people at College of the Redwoods over the years and most recently, Robert built one out of Wenge as seen below. Mine will be without arms and will be made of white oak.
 The glorious thing about doing Vidar's chairs is that the full scale working drawings already exist and therefore I was able to warp-zone my way past the designing, mocking-up and drawing stages, right to the building. I feel like I've still learned how to go about those important steps by watching other students do it, but with limited time left I'm happy to be going full throttle with the real deal. Below you see the drawing of the back of the chair. Mine will be to 65% of the actual size.
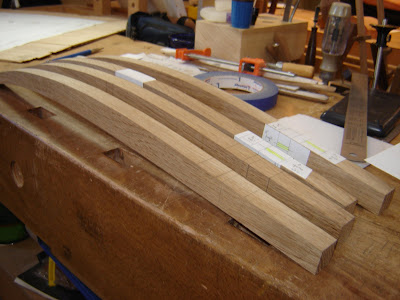
 Below you see my white oak cut into very small but very carefully selected pieces. Vidar's chair is a great exercise in both complex joinery, but also grain graphics. Every piece has to be a certain cut in order to have the grain follow the curves once the shaping begins.


Next the front legs are joined with the seat front and the front rail between them. The rail is connected with a single live tenon while the seat front is once again joined with twin floating tenons. I discovered doing this part that while live tenons take longer to cut, they are a joy to fit. The floaters on the other hand are quick to mortise but you have twice as much tenon to fit and at this tiny scale the chicklety little tenons are hard to hold on to.
 This is just some tenon stock. Perhaps I should have explained earlier but a live tenon is one that is cut on the end of a piece like the rail and is then inserted into a mortise in the other piece. A floating or loose tenon involves two mortises (one in each piece) and a separate tenon that joins them together, more like a dowel. Twin tenons are just two, one above the other.

Vidar Malmsten was JK's friend and he designed a chair that has been built by numerous people at College of the Redwoods over the years and most recently, Robert built one out of Wenge as seen below. Mine will be without arms and will be made of white oak.


The back legs are the first to take shape in order to begin laying out the joinery and cutting the mortises.


White sticky labels makes it easier to make crisp, visible lines and avoid confusion when you get back to the mortiser to start cutting.

I made a cradle to hold my pieces while I mortised in the side of the legs. The nice thing about the two dowels is that they allowed me to maneuver the piece side to side until my marks were perfectly parallel to the top of the x-y table.

The back of the seat is fit between the back legs with twin tenons.

Next the front legs are joined with the seat front and the front rail between them. The rail is connected with a single live tenon while the seat front is once again joined with twin floating tenons. I discovered doing this part that while live tenons take longer to cut, they are a joy to fit. The floaters on the other hand are quick to mortise but you have twice as much tenon to fit and at this tiny scale the chicklety little tenons are hard to hold on to.

Sunday, April 4, 2010
Marching through March
We took advantage of the week-long spring break at school and returned home to Calgary in order to find a house. It was quite a process. When we bought our first house we spent a day with a realtor, and by the end of the day had found what we were looking for; easy as pie. This time however, we spent the better part of a week out looking during the day an d scouring the mls by night. It was frustrating at times but in the end we found a great house in a great neighbourhood and knew that the effort was well worthwhile.
Meanwhile, back in the world of wood and wonder, things have been going well. The school has emerged from the "winter months" ( I still laugh when I hear people talk about "winter" here because it is so nice not to have had snow and frigid temperatures but I guess it's all relative) and the mood in the shop seems to have returned to one of excitement and enthusiasm.
Once my table frame structure was glued up it was time for fitting drawer bottoms. This time around I did NK drawers which are different than traditional drawers in that you actually only fit the bottom to the pocket and then glue the dovetailed box portion onto it. It is much easier to get a nicely fitting drawer but does involve significantly more steps.

 In order to accurately attach the top of the table to the legs I used a doweling template made from a piece of 3/4" mdf. The template was first drilled on the press and then used to drill corresponding holes in both the legs part and the table top. It worked beautifully.
 The top was then glued on but not without the center sliding panel being in place. I wrote myself a big note because gluing the top on without this in place would be disastrous. What is this center panel you ask? I'll share more later.
 As you can probably imagine, with as many people working in the space that we have to work in, it gets crowded and it has at times been very cluttered with projects and mock-ups. This is a view towards my bench. Yikes.
 With the drawer boxes glued down to the bottoms all that remained was to mortise a slot into which a pull would be glued.

Pulls are a tricky thing because they can really change the feel of a piece. At first I carved a pull similar in shape to this one out of Olive but once finished the colors went from soft to rather gaudy. I wound up making the same pull, this time out of London Plane, which goes really well with the elm in the drawer bottom.
 A little polishing and waxing on the top and tada! just like that a finished hall table. I am pleased with how it turned out but will look forward to getting it out of the shop because it occupies more than my share of space.
As I suggested earlier, the center compartment of the table has an interesting sliding door. Truth be told, and I kept this a secret even from most people in the shop and certainly from Mylene, there is a secret compartment! I'm not sure how many additional hours were spent in pursuit of this bit of fun but I spent many morning laying in bed trying to come up with the mechanics in my head.
 This was where I finally landed. I'll give you a few clues: the sliding door, a shallow drawer, the stop above but I'll say no more. That's some kind of poetry...
 This is the box that slides out from the compartment. Awesome quilted ash on the top and bottom.
 And a token Rya shot, testing out the comfiness of Don's chair mock-up. She's grown so fast, check her out in past posts! She's a real little girl now!
Meanwhile, back in the world of wood and wonder, things have been going well. The school has emerged from the "winter months" ( I still laugh when I hear people talk about "winter" here because it is so nice not to have had snow and frigid temperatures but I guess it's all relative) and the mood in the shop seems to have returned to one of excitement and enthusiasm.
Once my table frame structure was glued up it was time for fitting drawer bottoms. This time around I did NK drawers which are different than traditional drawers in that you actually only fit the bottom to the pocket and then glue the dovetailed box portion onto it. It is much easier to get a nicely fitting drawer but does involve significantly more steps.

I used ash as drawer sides because I like the colors with the maple and the bottom, which I neglected to take a photo of, are red elm. The three woods really worked nicely together but the ash did prove a challenge to dovetail with the maple as both are hard and you cannot rely on any compression to help the joint.


Pulls are a tricky thing because they can really change the feel of a piece. At first I carved a pull similar in shape to this one out of Olive but once finished the colors went from soft to rather gaudy. I wound up making the same pull, this time out of London Plane, which goes really well with the elm in the drawer bottom.

As I suggested earlier, the center compartment of the table has an interesting sliding door. Truth be told, and I kept this a secret even from most people in the shop and certainly from Mylene, there is a secret compartment! I'm not sure how many additional hours were spent in pursuit of this bit of fun but I spent many morning laying in bed trying to come up with the mechanics in my head.


Subscribe to:
Posts (Atom)