We took advantage of the week-long spring break at school and returned home to Calgary in order to find a house. It was quite a process. When we bought our first house we spent a day with a realtor, and by the end of the day had found what we were looking for; easy as pie. This time however, we spent the better part of a week out looking during the day an d scouring the mls by night. It was frustrating at times but in the end we found a great house in a great neighbourhood and knew that the effort was well worthwhile.
Meanwhile, back in the world of wood and wonder, things have been going well. The school has emerged from the "winter months" ( I still laugh when I hear people talk about "winter" here because it is so nice not to have had snow and frigid temperatures but I guess it's all relative) and the mood in the shop seems to have returned to one of excitement and enthusiasm.
Once my table frame structure was glued up it was time for fitting drawer bottoms. This time around I did NK drawers which are different than traditional drawers in that you actually only fit the bottom to the pocket and then glue the dovetailed box portion onto it. It is much easier to get a nicely fitting drawer but does involve significantly more steps.
I used ash as drawer sides because I like the colors with the maple and the bottom, which I neglected to take a photo of, are red elm. The three woods really worked nicely together but the ash did prove a challenge to dovetail with the maple as both are hard and you cannot rely on any compression to help the joint.
In order to accurately attach the top of the table to the legs I used a doweling template made from a piece of 3/4" mdf. The template was first drilled on the press and then used to drill corresponding holes in both the legs part and the table top. It worked beautifully.
The top was then glued on but not without the center sliding panel being in place. I wrote myself a big note because gluing the top on without this in place would be disastrous. What is this center panel you ask? I'll share more later.
As you can probably imagine, with as many people working in the space that we have to work in, it gets crowded and it has at times been very cluttered with projects and mock-ups. This is a view towards my bench. Yikes.
With the drawer boxes glued down to the bottoms all that remained was to mortise a slot into which a pull would be glued.
Pulls are a tricky thing because they can really change the feel of a piece. At first I carved a pull similar in shape to this one out of Olive but once finished the colors went from soft to rather gaudy. I wound up making the same pull, this time out of London Plane, which goes really well with the elm in the drawer bottom.
A little polishing and waxing on the top and tada! just like that a finished hall table. I am pleased with how it turned out but will look forward to getting it out of the shop because it occupies more than my share of space.
As I suggested earlier, the center compartment of the table has an interesting sliding door. Truth be told, and I kept this a secret even from most people in the shop and certainly from Mylene, there is a secret compartment! I'm not sure how many additional hours were spent in pursuit of this bit of fun but I spent many morning laying in bed trying to come up with the mechanics in my head.
This was where I finally landed. I'll give you a few clues: the sliding door, a shallow drawer, the stop above but I'll say no more. That's some kind of poetry...
This is the box that slides out from the compartment. Awesome quilted ash on the top and bottom.
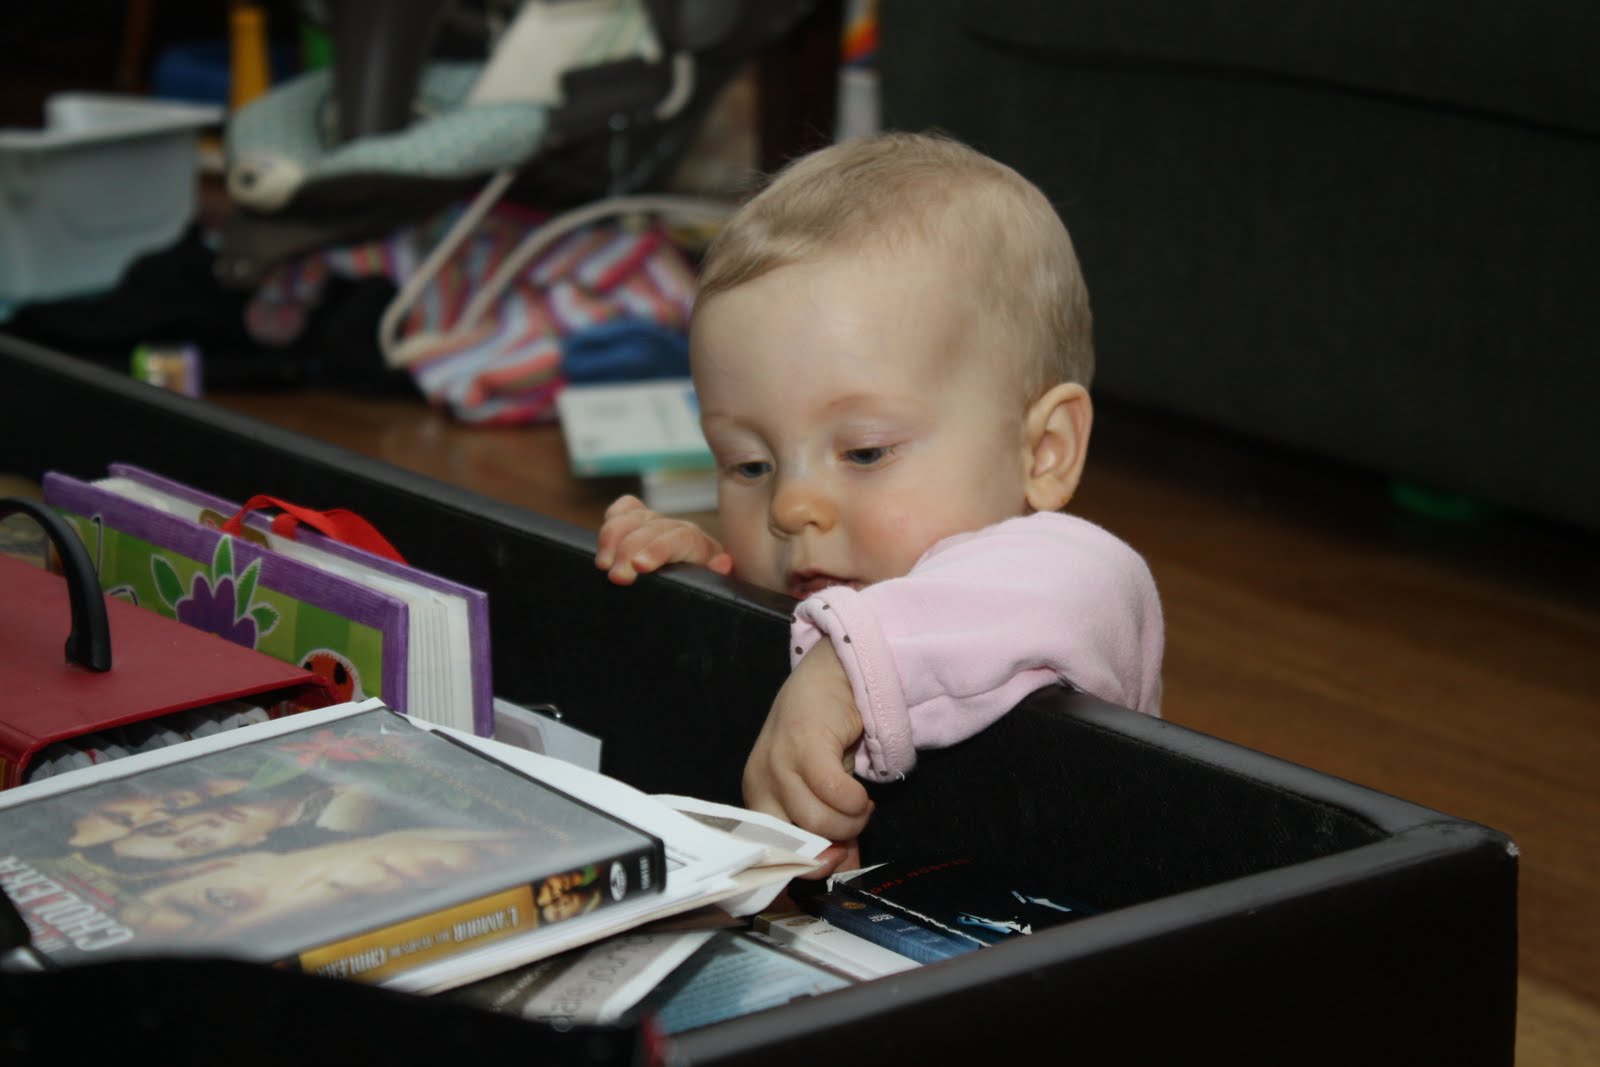
And a token Rya shot, testing out the comfiness of Don's chair mock-up. She's grown so fast, check her out in past posts! She's a real little girl now!